1663832908583941.png)
Google Spreadsheet- How to send SMS, Email, and Campaign.
You can send SMS directly from your Google spreadsheet by using this add-on without switching back and forth to the panel. This add-on is introduced to save your time and help you to send SMS efficiently to all your contacts from the sheet itself.
Video :
Follow the below-mentioned steps to send SMS directly by using the sheet:
Installation-
Install the SMS Sheet add-on from MSG91 in the Google spreadsheet.
Step 1: Click on Extension, hover to the Add-ons section, and click on the Add-ons section, and click on Get add-ons.

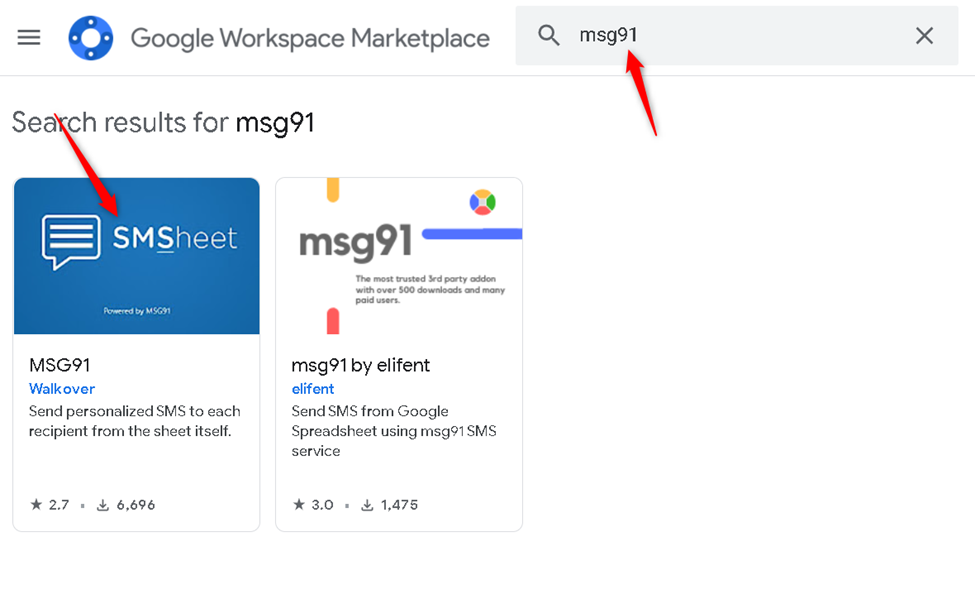
Step 2: Search SMS Sheet or MSG91, and click on it.
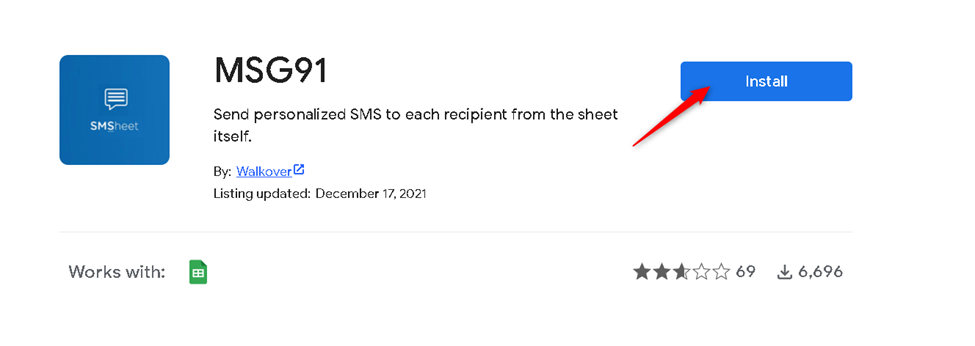
Step 3: Install the add-on.
For Sending SMS:
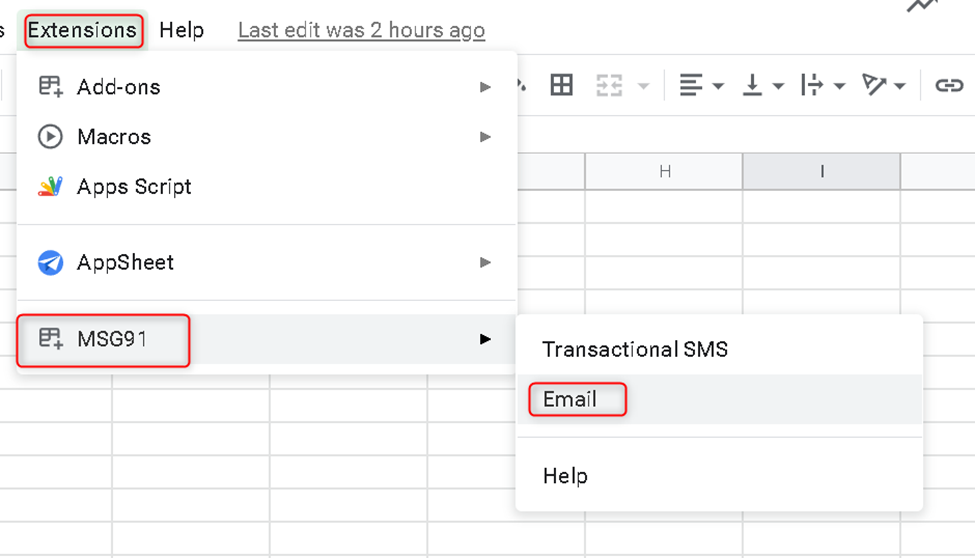
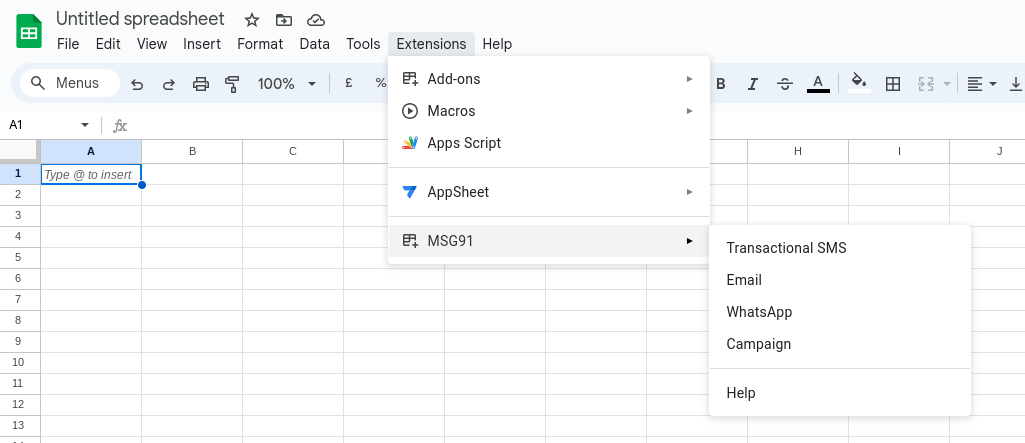
Step 4: Click on Extension and hover to MSG91 and select Transactional SMS.
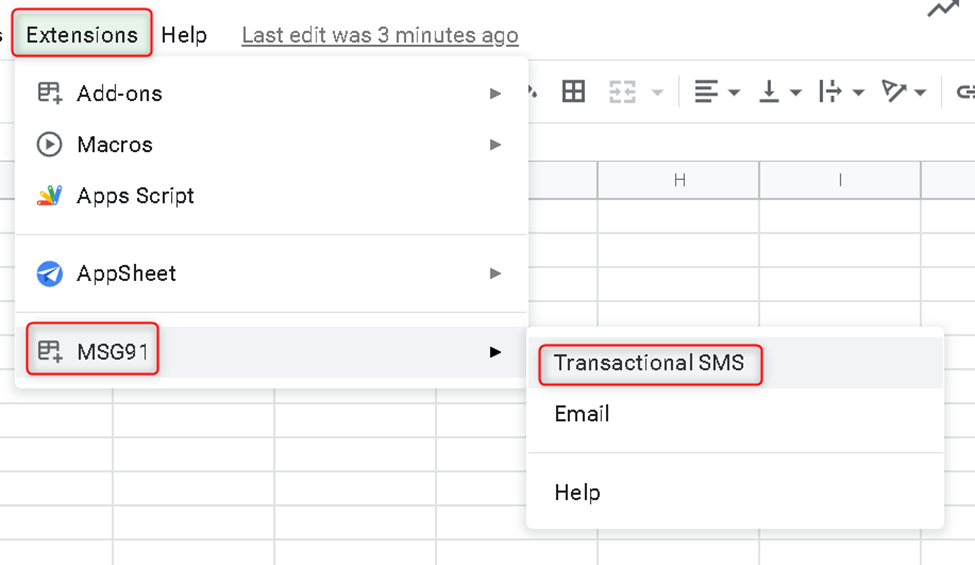
Note: If you are not getting any option when you hover to MSG91 then follow the steps: 17-21
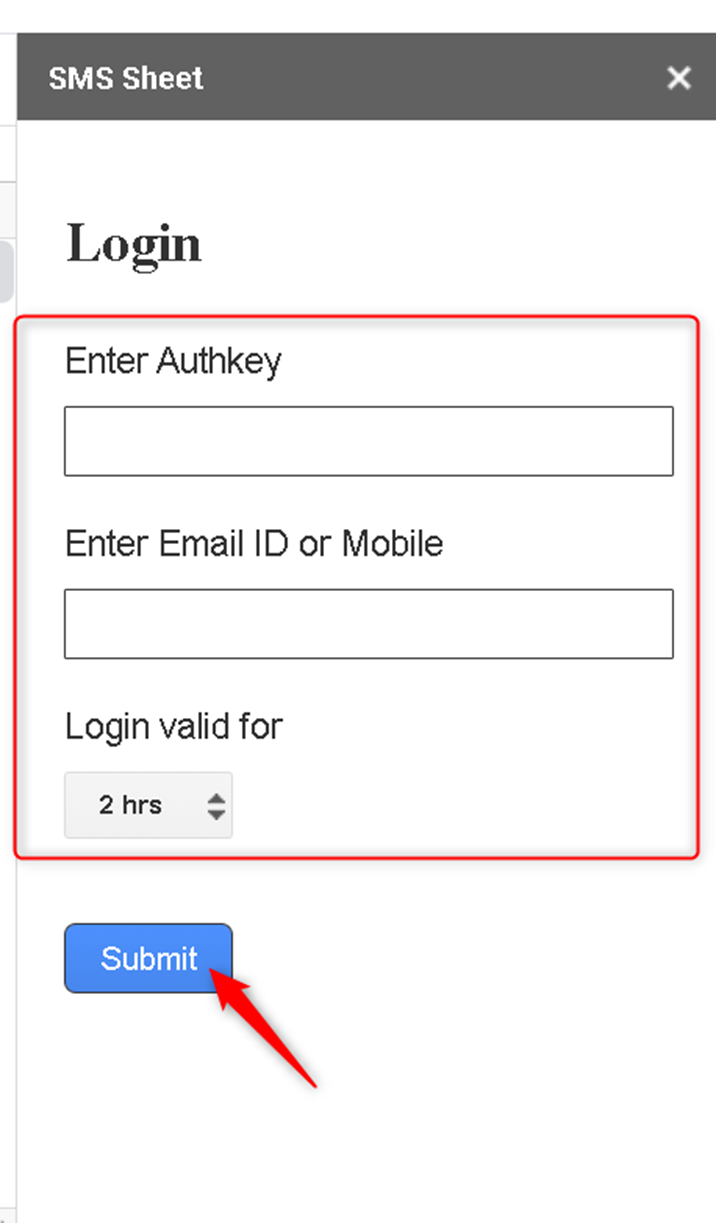
Step 5: Log in with MSG91 using Authkey and Email Id or Mobile. You can get Authkey by login into OneAPI Dashboard in MSG91. Enter the validity duration 2hrs/3hrs/4hrs from the drop-down and click on Submit.
Step 6: Enter OTP received in your email id or registered phone.

Step 7: Select the column in which mobile numbers of recipients are saved.
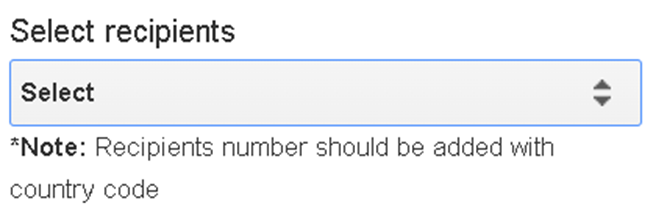
Step 8: Select whether to send all the contacts in a particular row.
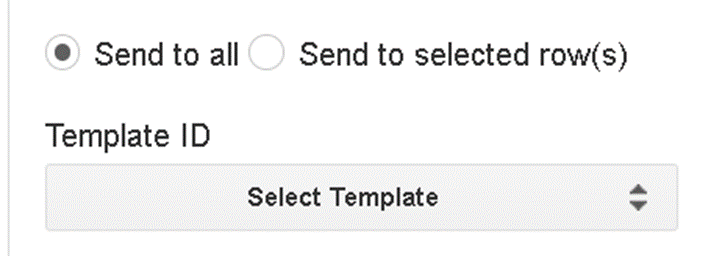
Step 9: Select the Short URL option to shorten the URL then select your template ID.

Step 10: Click on Preview and Send SMS.
For sending Email :-
Step 10: Click on Extension and hover to MSG91 and select Transactional SMS
Step 11: Follow steps 5 and 6 above for the sign-in process.
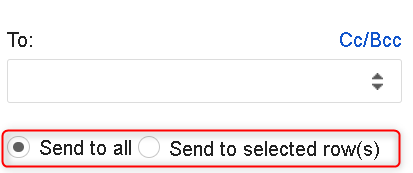
Step 12: Select the recipient column from To. Also, you can select CC and BCC.
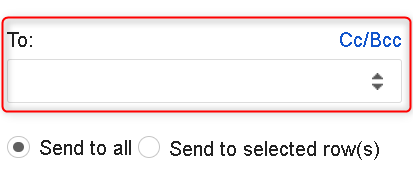
Step 13: Select whether to send all the contacts in a particular row or specific people.
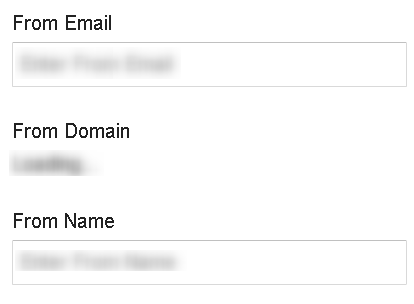
Step 14: Select the necessary details: from which email the recipient should receive, the domain of your company, and the name they will be receiving the email from.
Step 15: Choose Email type. (Transactional or Promotional or Notification) and choose the template.
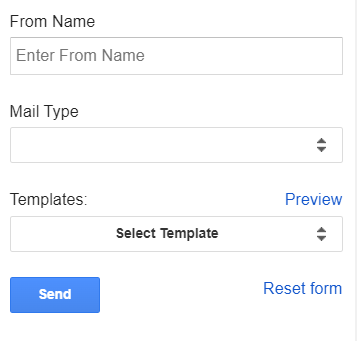
Step 16: Click Send.
For Sending Campaign:
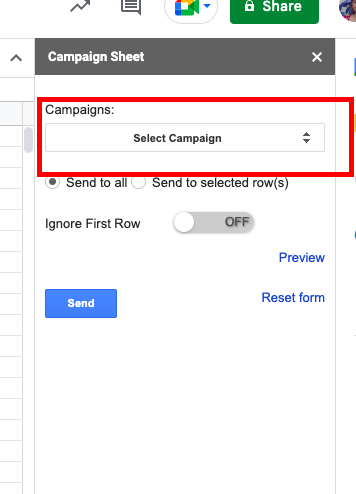
Step 17: Click on Extension and hover to MSG91 and select Campaign.

Step 18: The Campaign sheet will get opened. You will see a list of campaigns created in the campaign section of the MSG91 portal. Select one.
Step 19: Make sure to create columns for the contact details and the content variables you used in the campaign. Map them to the data in the sheet.
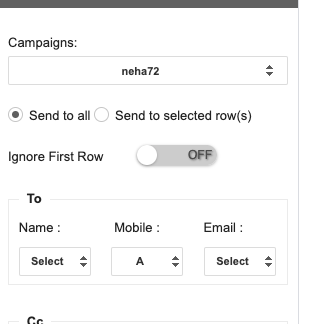
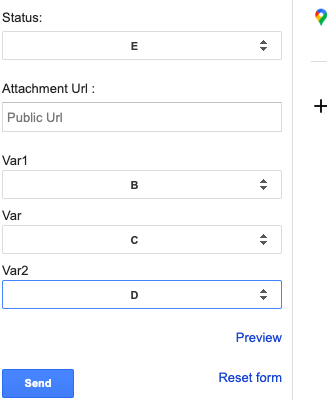
Step 20: Click on Send.
In case you have not created any campaigns yet, please refer to this article: https://msg91.com/help/MSG91/what-is-campaign-and-how-to-use-it
If you are not seeing the options in MSG91 Addon-
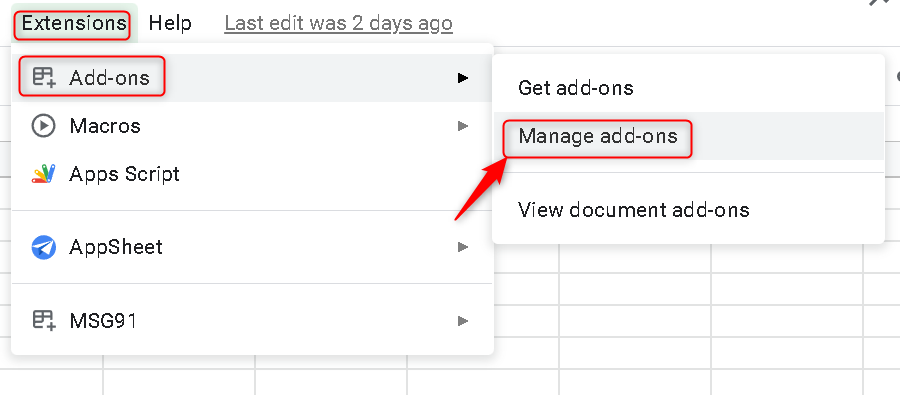
Step 17: Click on Extension, hover to Add-ons, and then click on Manage add-ons.
Step 18: Click on the three dots.
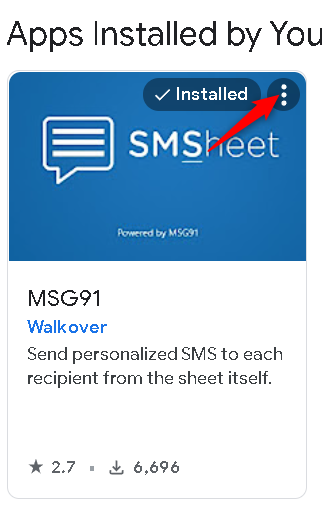
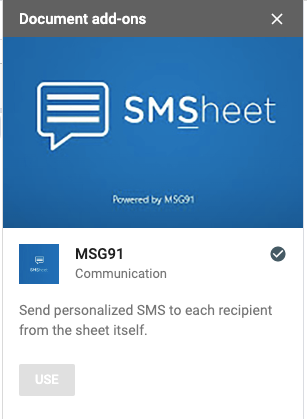
Step 19: Select use in this document option
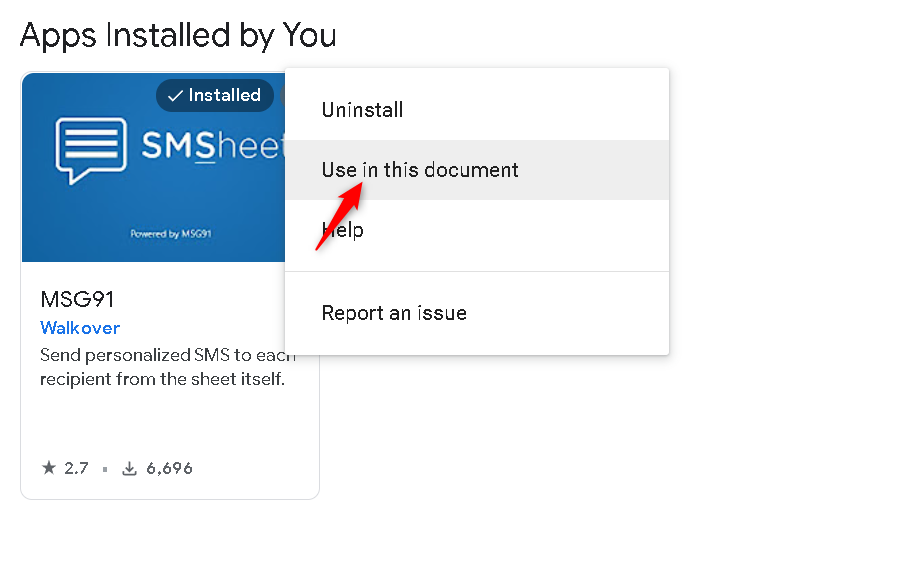
Step 20: Click on Extension, hover to Add-ons, and then click on use in this document.
Step 21: Click on the dropdown beside use and select the action: Transactional SMS or Email and then follow the steps as explained above Step 4-15.
Note: If the option is already ticked, then skip this step. But you will need to refresh your window. After that you can go the MSG91 option from the Extension tab and you will see the Emai, SMS, or Campaign option.
NOTE: If sent without a country code, submission and deduction depend on the detected country based on the starting number: For, 91xxxxxxxxxx, etc