
Getting Started with Zoho Campaigns
Follow these steps to connect your Zoho Campaigns and automate your tasks effortlessly.
Step 1: Select Zoho Campaigns from viaSocket’s Library of Apps
Find Zoho Campaigns: Use the search bar to locate Zoho Campaigns from the list of available apps.
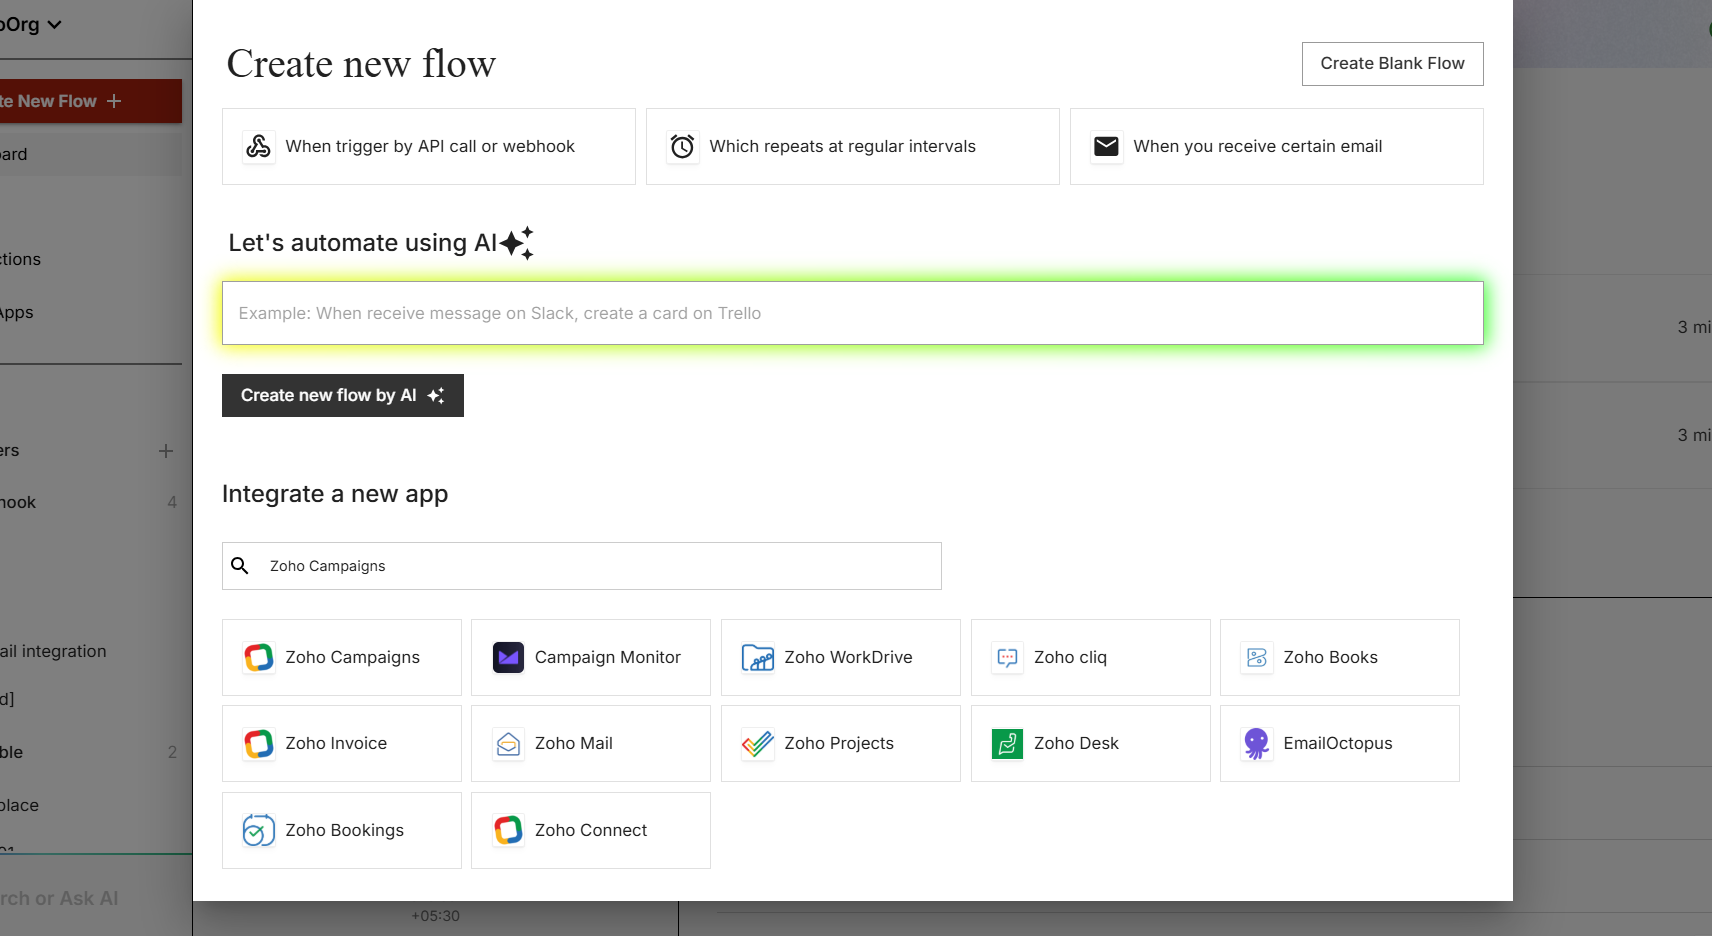
Select Zoho Campaigns: Click on Zoho Campaigns to begin the integration process.
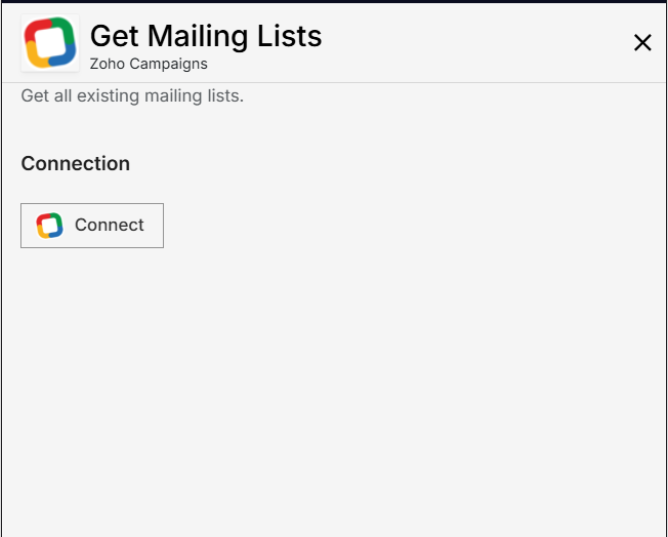
Step 2: Authenticate
Authentication Prompt: After selecting Zoho Campaigns, viaSocket will prompt you to authenticate your Zoho Campaigns account.
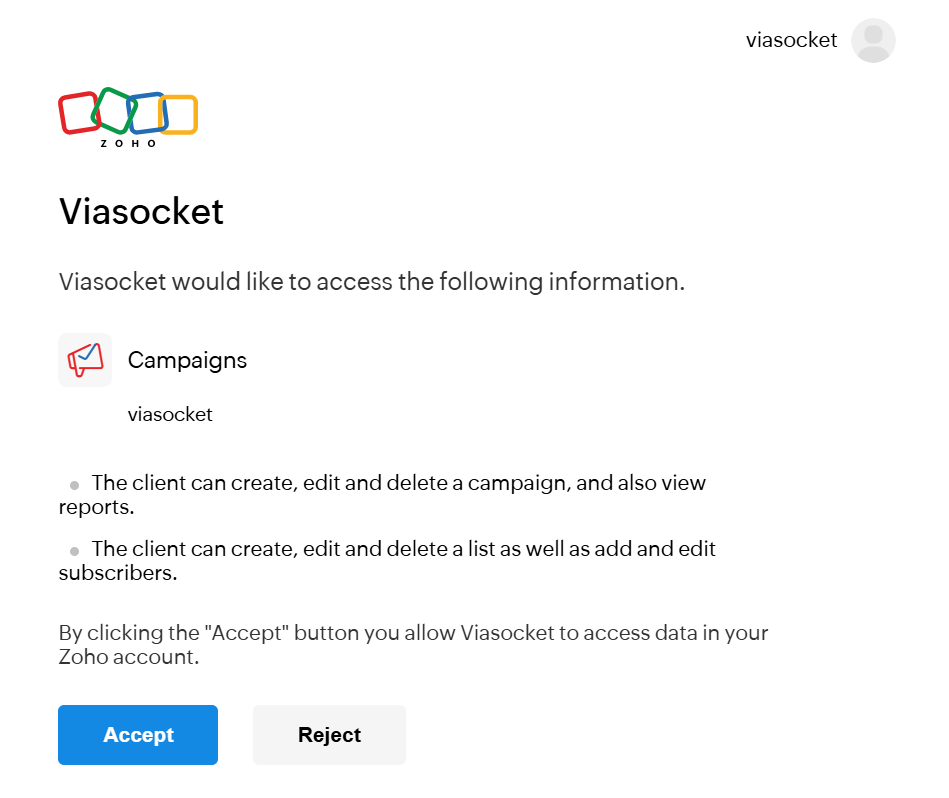
Grant Permissions: You will be asked to grant viaSocket permission to access your Zoho Campaigns data. Click 'Accept' to proceed.
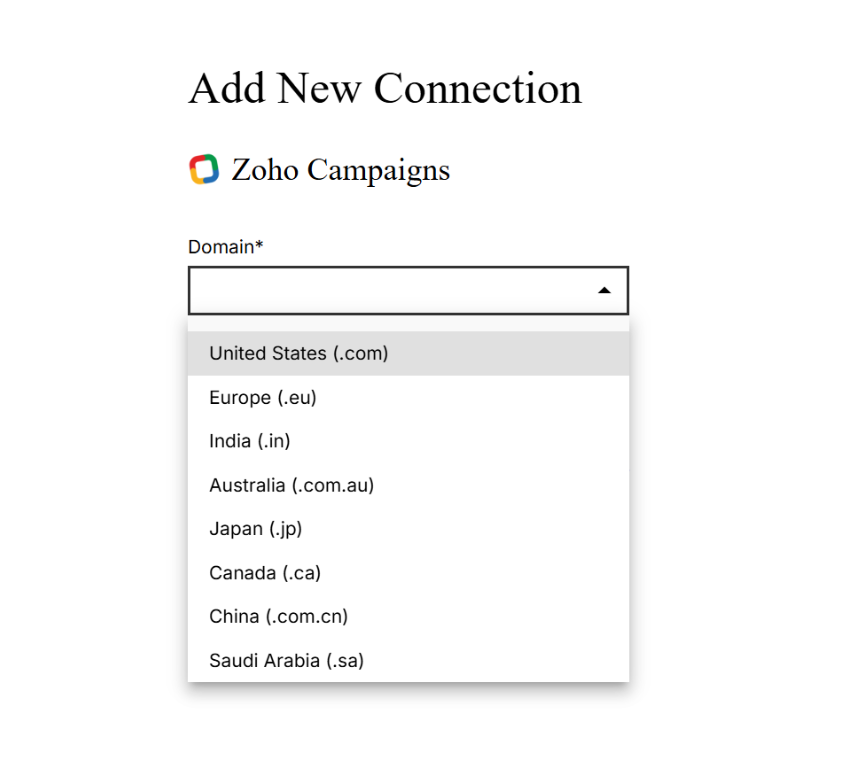
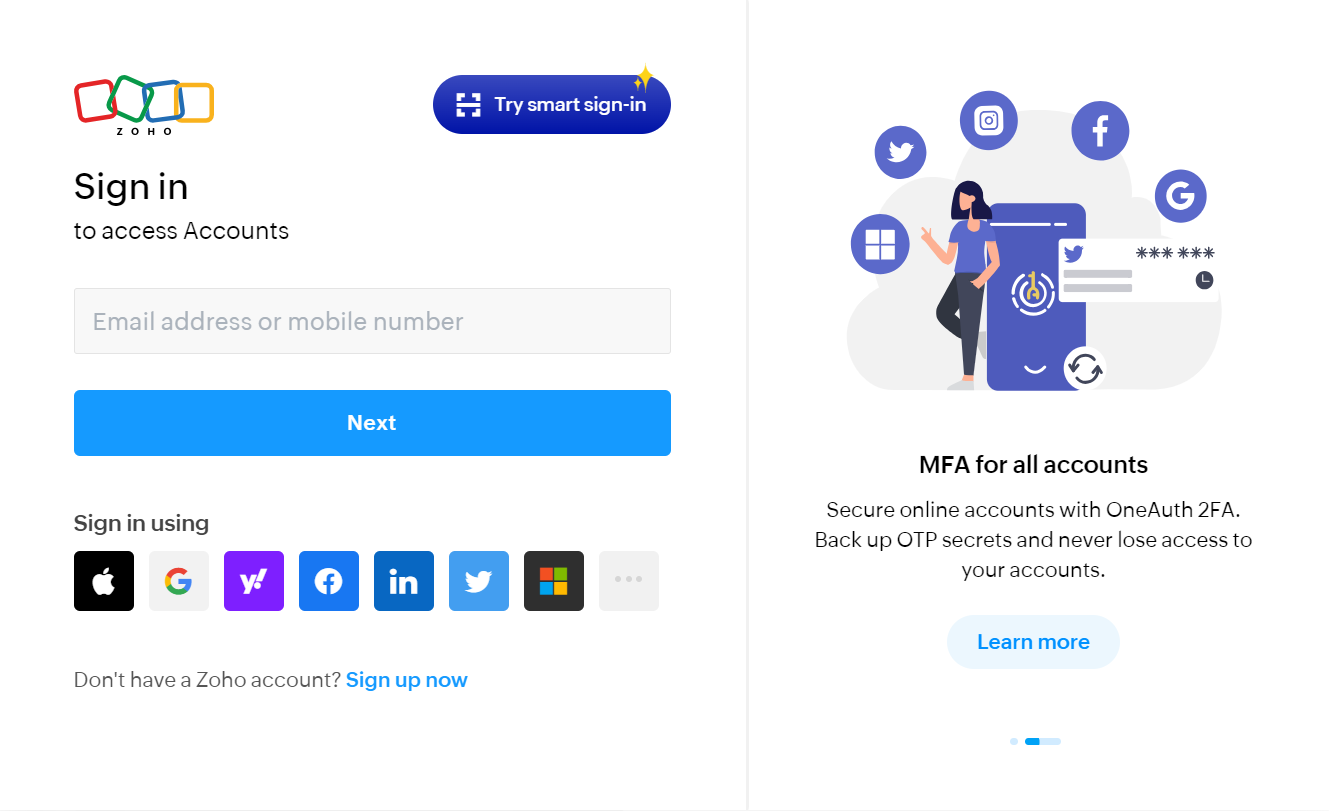
Log In to Zoho Campaigns: If you are not already logged in, you will be asked to log into your Zoho Campaigns account.
Map Data Fields, Test and Save
Ensure that data from the triggering app is correctly mapped to the fields in Zoho Campaigns. This might involve mapping email content to a lead’s details or form submissions to contact records.
Before finalizing, run a test to ensure everything is set up correctly.
Once you are satisfied with the test results, save your step.