
Getting Started with LiveChat
Follow these steps to connect your LiveChat and automate your tasks effortlessly.
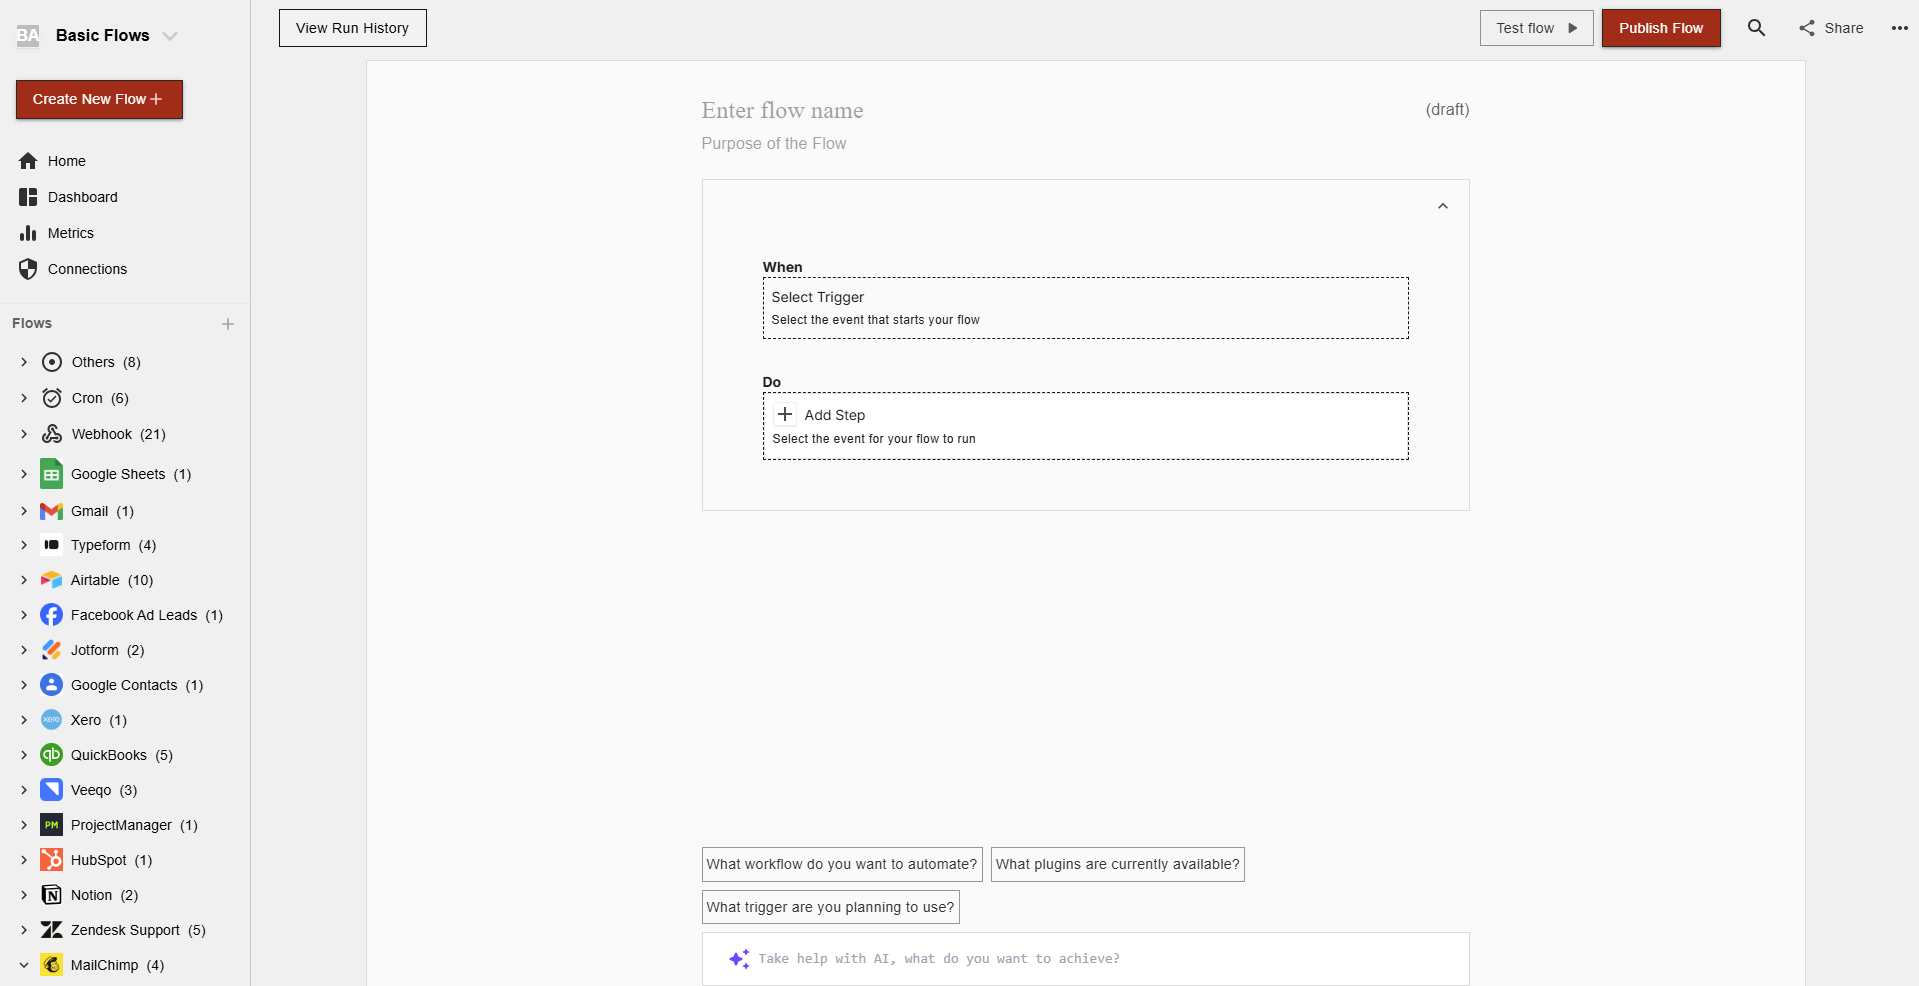
Step 1: Create a New Flow
Log in to your viaSocket account.
Click on Create New Flow.
Step 2: Select a Trigger
Click on Add Trigger.
Choose LiveChat from the list of available apps.
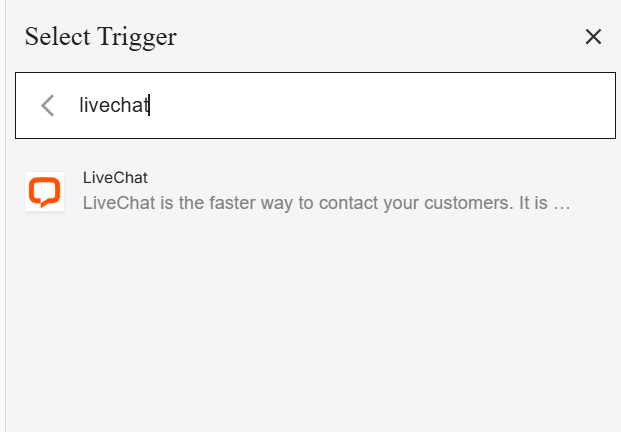
Select LiveChat: Click on LiveChat to begin the integration process.

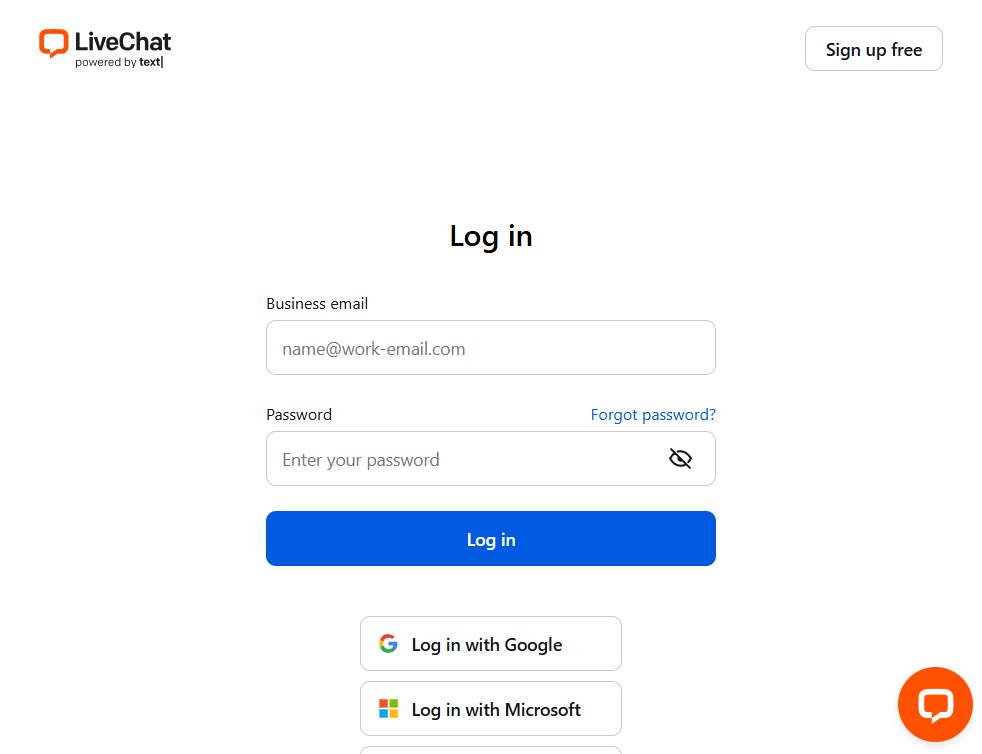
Step 3: Authenticate
Authentication Prompt: After selecting LiveChat, viaSocket will prompt you to authenticate your LiveChat account.
Log In to LiveChat: If you are not already logged in, you will be asked to log into your LiveChat account.
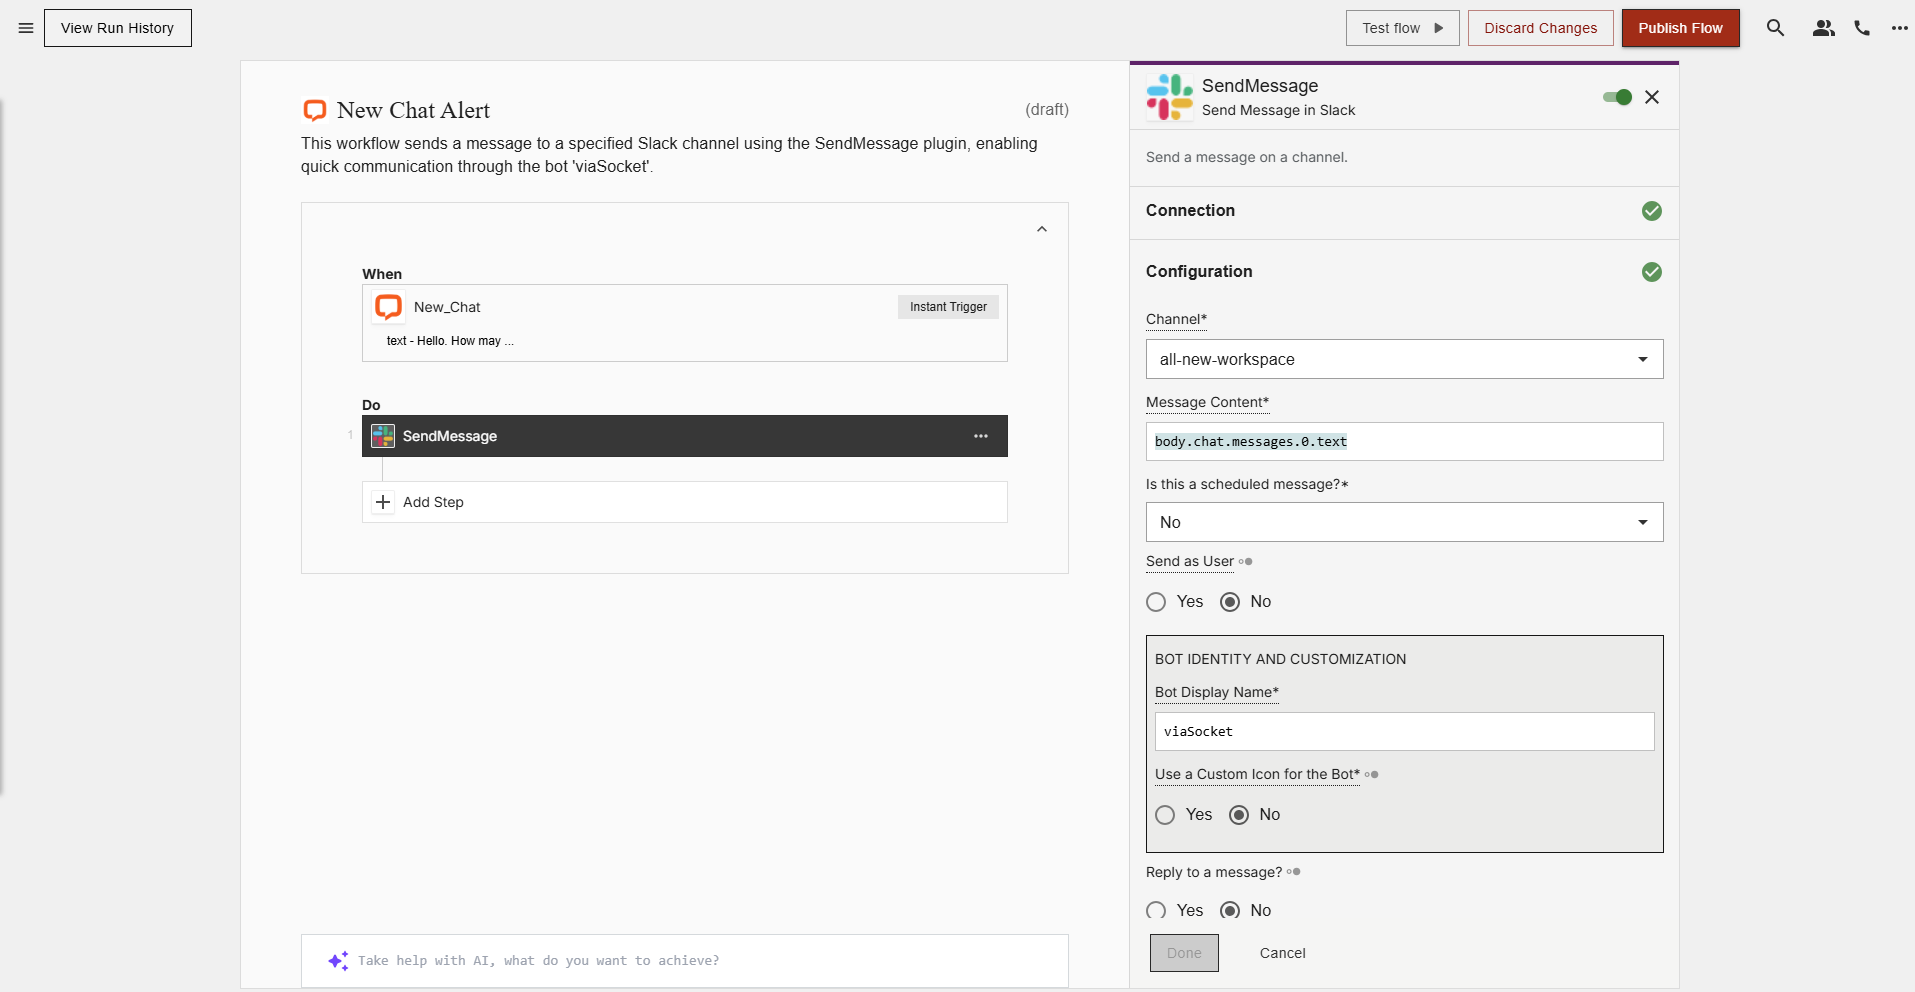
Step 4: Add Actions
Click on Add Action and choose the next step in your automation.
Select an app to integrate with LiveChat, such as:
Google Sheets (Save chat details automatically)
Slack (Send chat notifications)
CRM Apps (Update customer details)
Configure the action by mapping the necessary fields from LiveChat.
Click Save & Continue.
Step 4: Add Conditional Logic (Optional)
Use the If Conditional tool to add logic-based actions.
Define conditions such as:
If chat includes specific keywords, send an alert.
If chat duration exceeds a set time, escalate to a manager.
Click Save & Continue.
Step 5: Test and Activate the Flow
Click Test Flow to check if the setup is working correctly.
If successful, click Activate Flow.
Your LiveChat flow is now live in viaSocket, automating your chat processes efficiently.